

April 2022 UPDATE - the original half-metre panel I designed for The Sewing Studio is now sold out and no longer available. I have therefore created a fat quarter version of this cut and sew book that will give you a finished book that is approx. 4.5”.
This delightful little counting cloth book is a really simple and easy make. All the pieces are designed so all you need to do is cut out and sew. It’s a perfect project to make and then give as a gift for a new baby or toddlers birthdays. My 3yr old grandson absolutely loves it. There are extra pieces on the fabric panel for you to add your own label or maybe even a handle or hook to hang on a buggy.
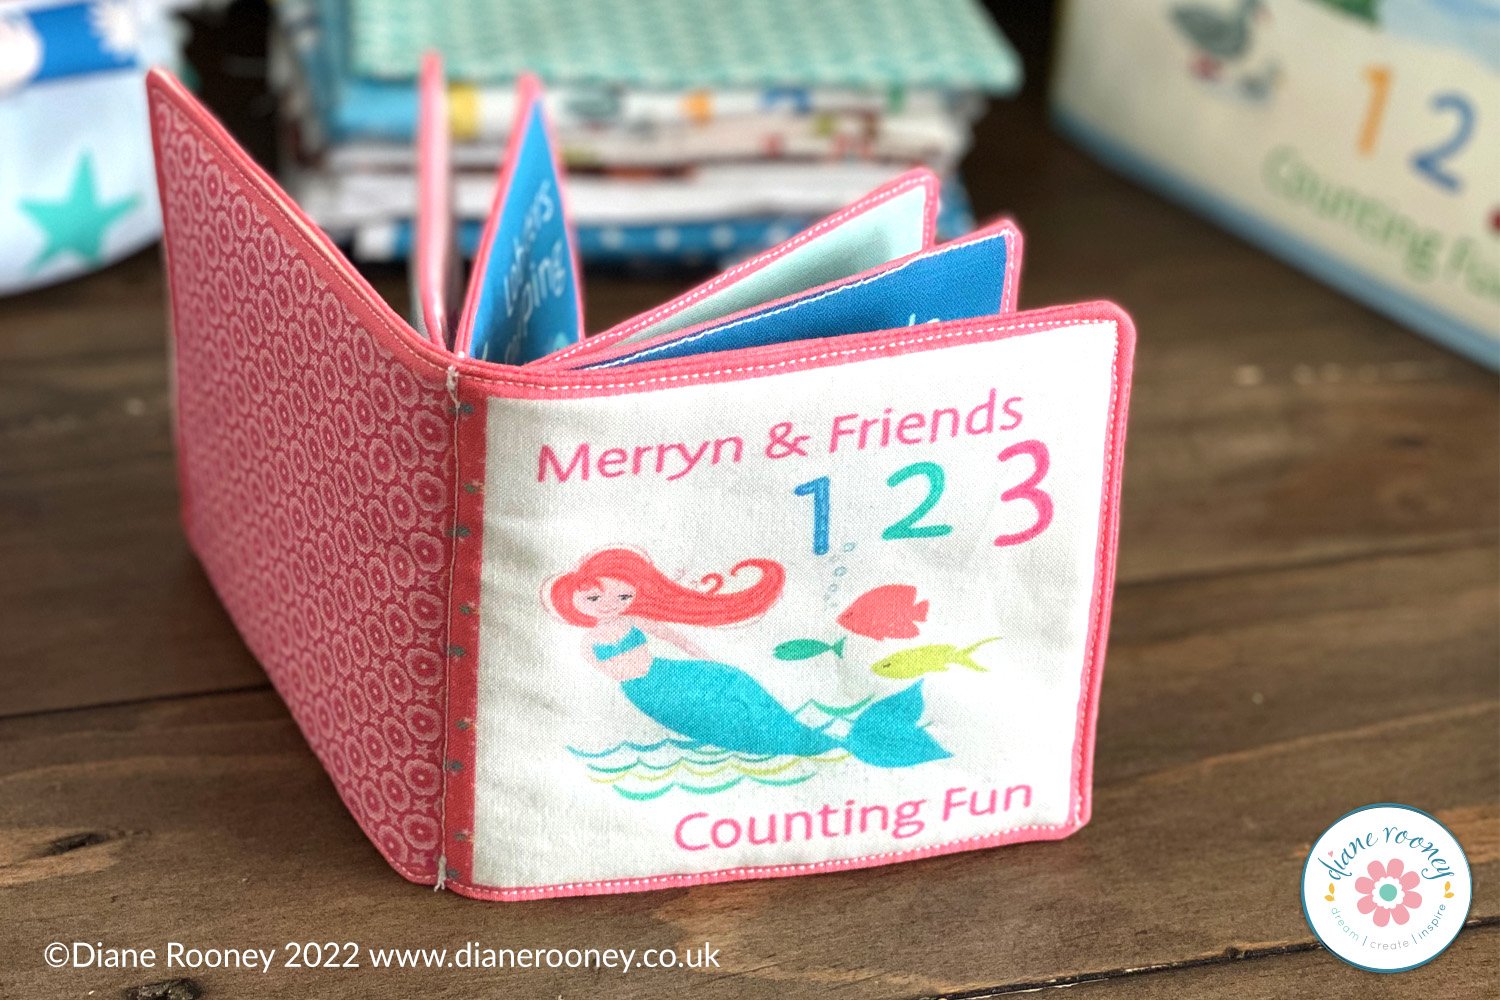
July 2022 UPDATE - I have added a new design to my Spoonflower shop. An adorable mermaid and sea life theme.
Supplies: you will need the Puddles and Boots Cut and Sew fabric panel or Merryn & Friends
click the link below to buy:
Puddles & Boots Cut & Sew Fat Quarter Counting Cloth Book (makes a cloth book approx. 4.5”)
Merryn Mermaid & Sea Life Cut & Sew Fat Quarter Counting Cloth Book (make a cloth book approx. 4.5”)
You will also need approx. 1/2 metre of fusible wadding or similar. I find the fusible wadding makes the finished book a little more stiff and stable than plain wadding. This tutorial is for using fusible wadding/fleece.
Please read through all the instructions carefully before getting started.
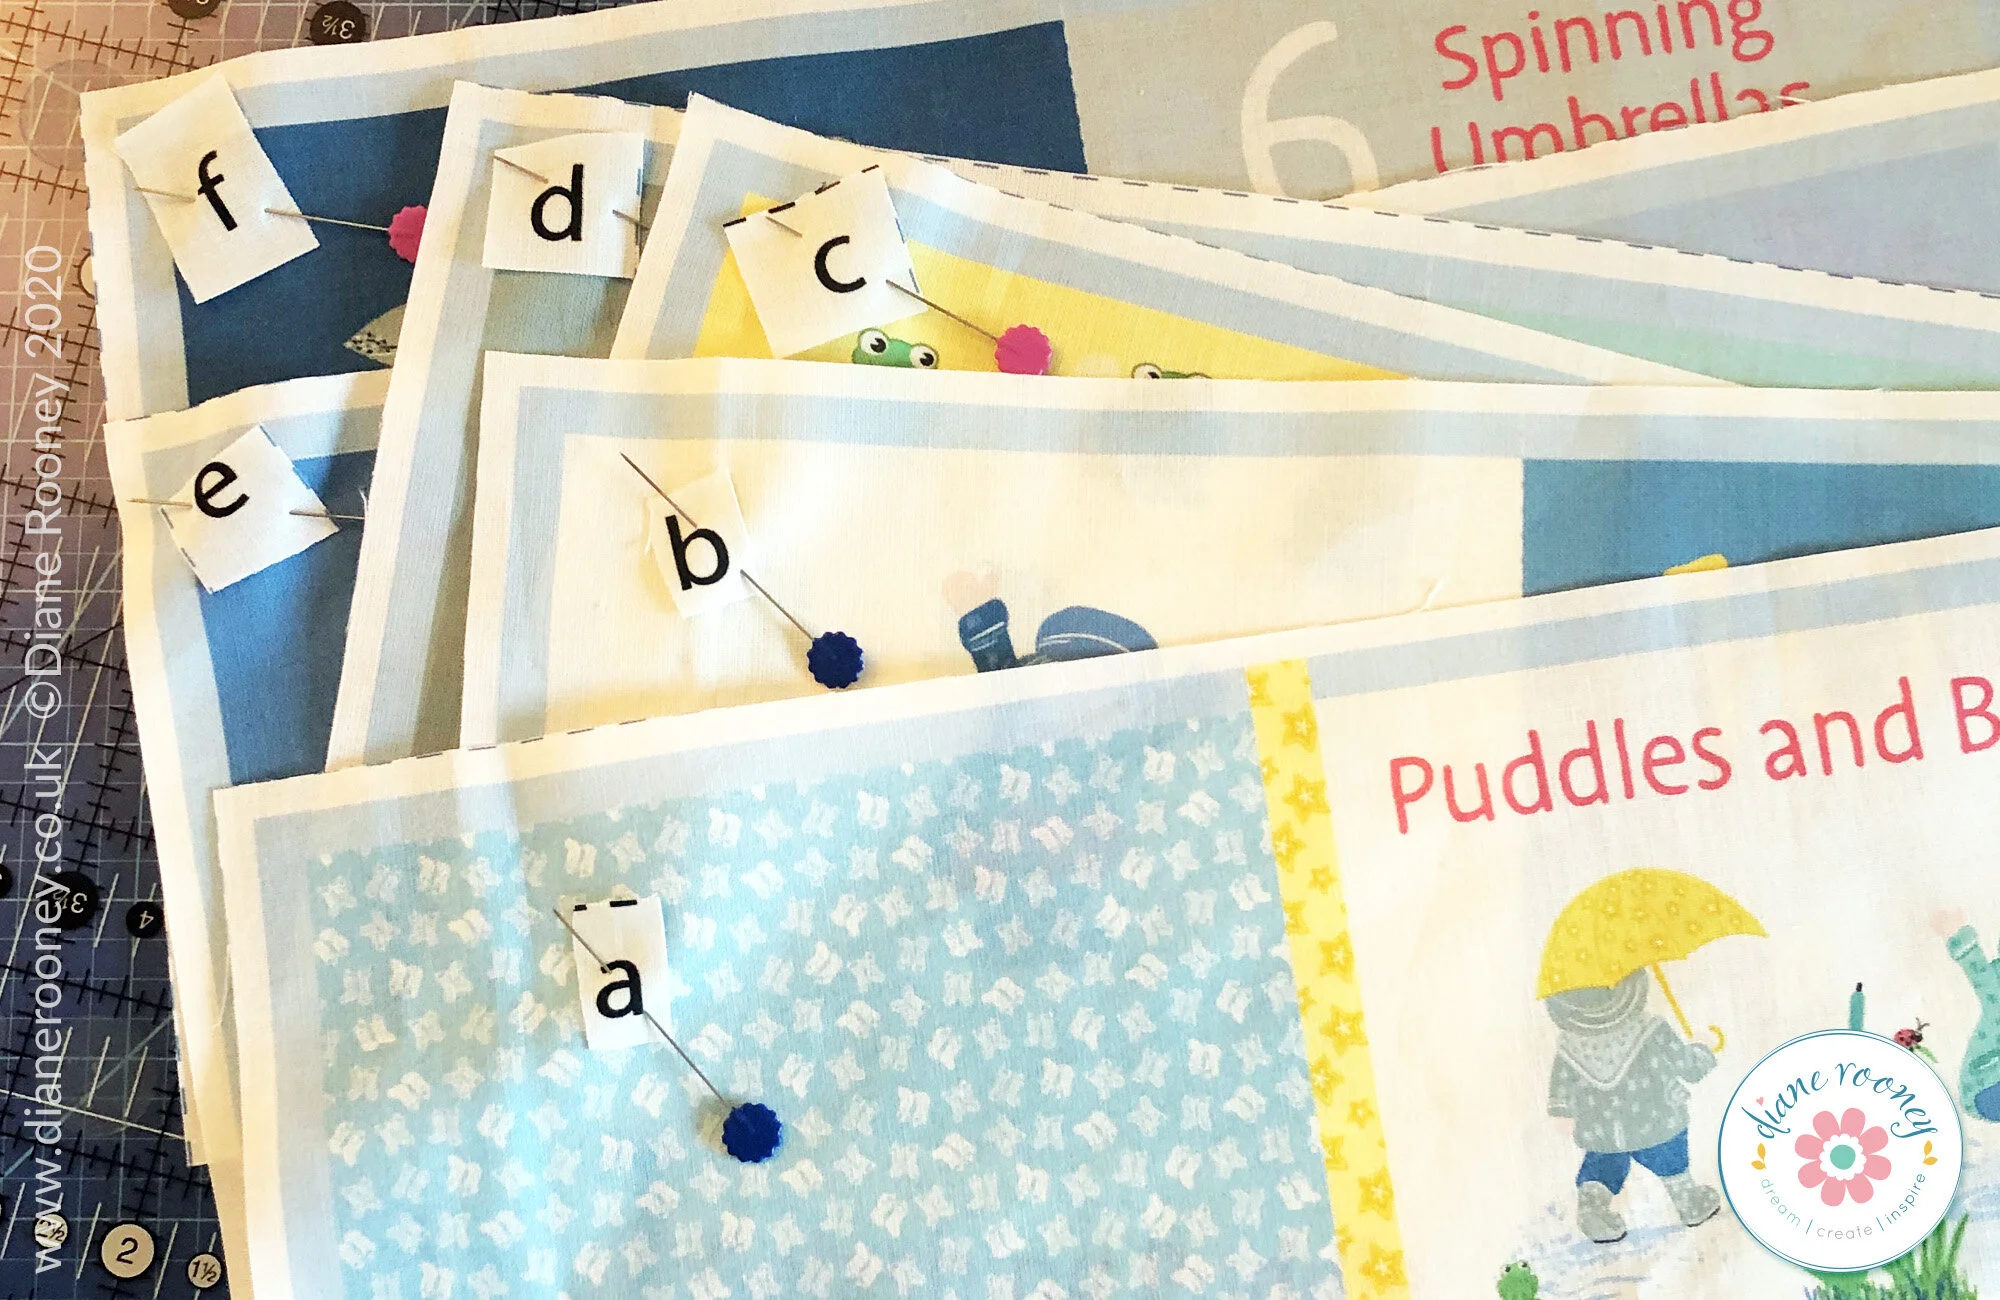
Note that the fabric panel includes labels, motifs and 3 strips of patterns. Use these to add a label to the back of your book. Or maybe add a handle or hook using the strips. Cut out and use as you wish. Have fun!
1. Cut out all the book page pieces on the panel using the dotted lines as a guide. Pin the letters to correct piece if it helps you keep them organised.

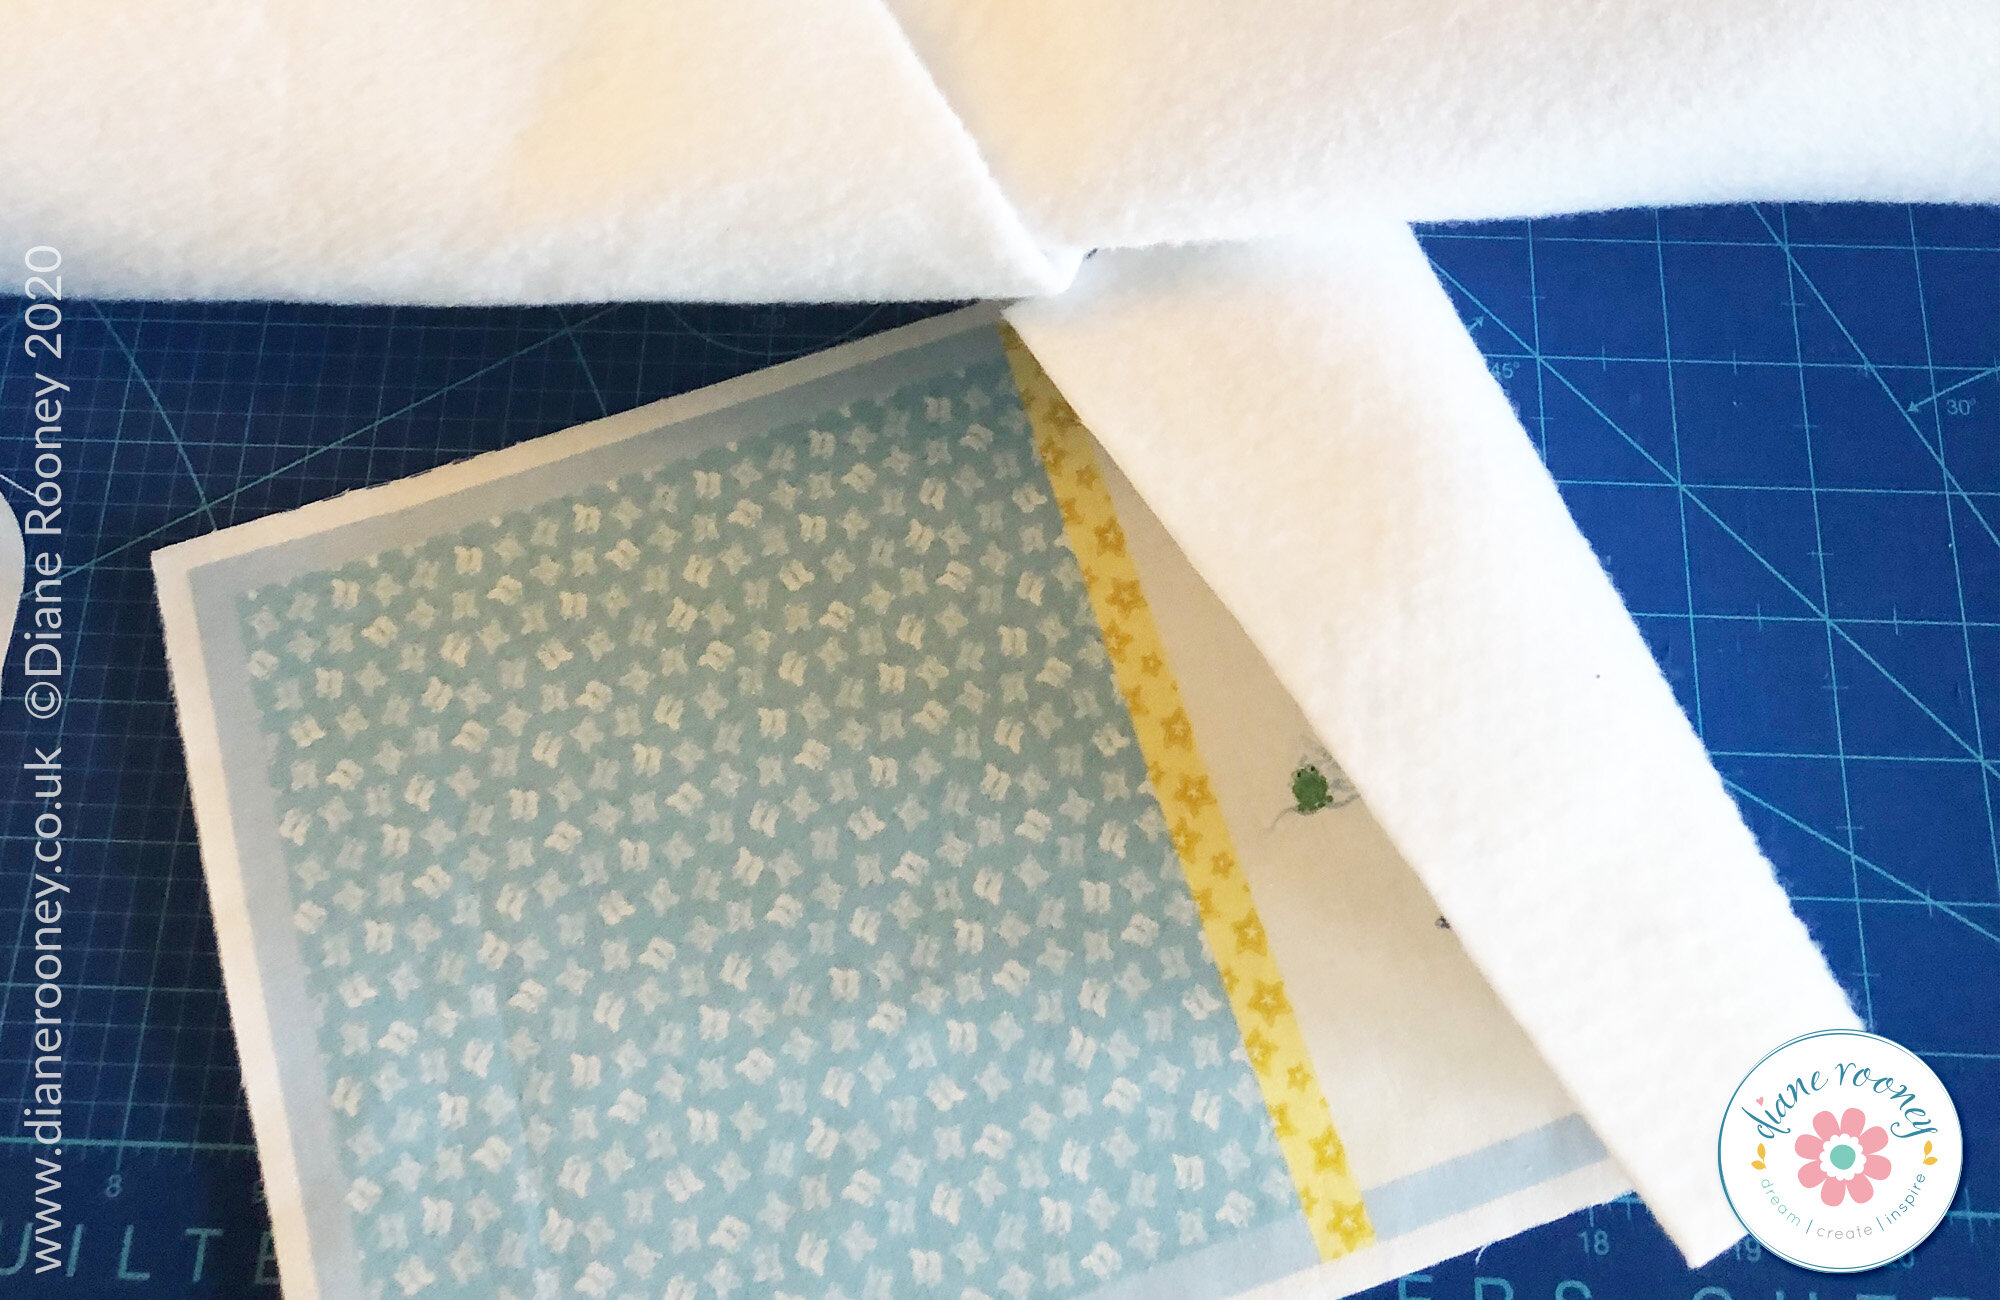
2. Cut out a piece of fusible fleece same size as piece A. Place fleece, fusible side up, on an ironing surface. Place fabric, right side up, on top of the fleece and press with iron to adhere.
3. Pin your fused piece A to piece B, right sides together. Take care to match the middle of the pieces before pinning.

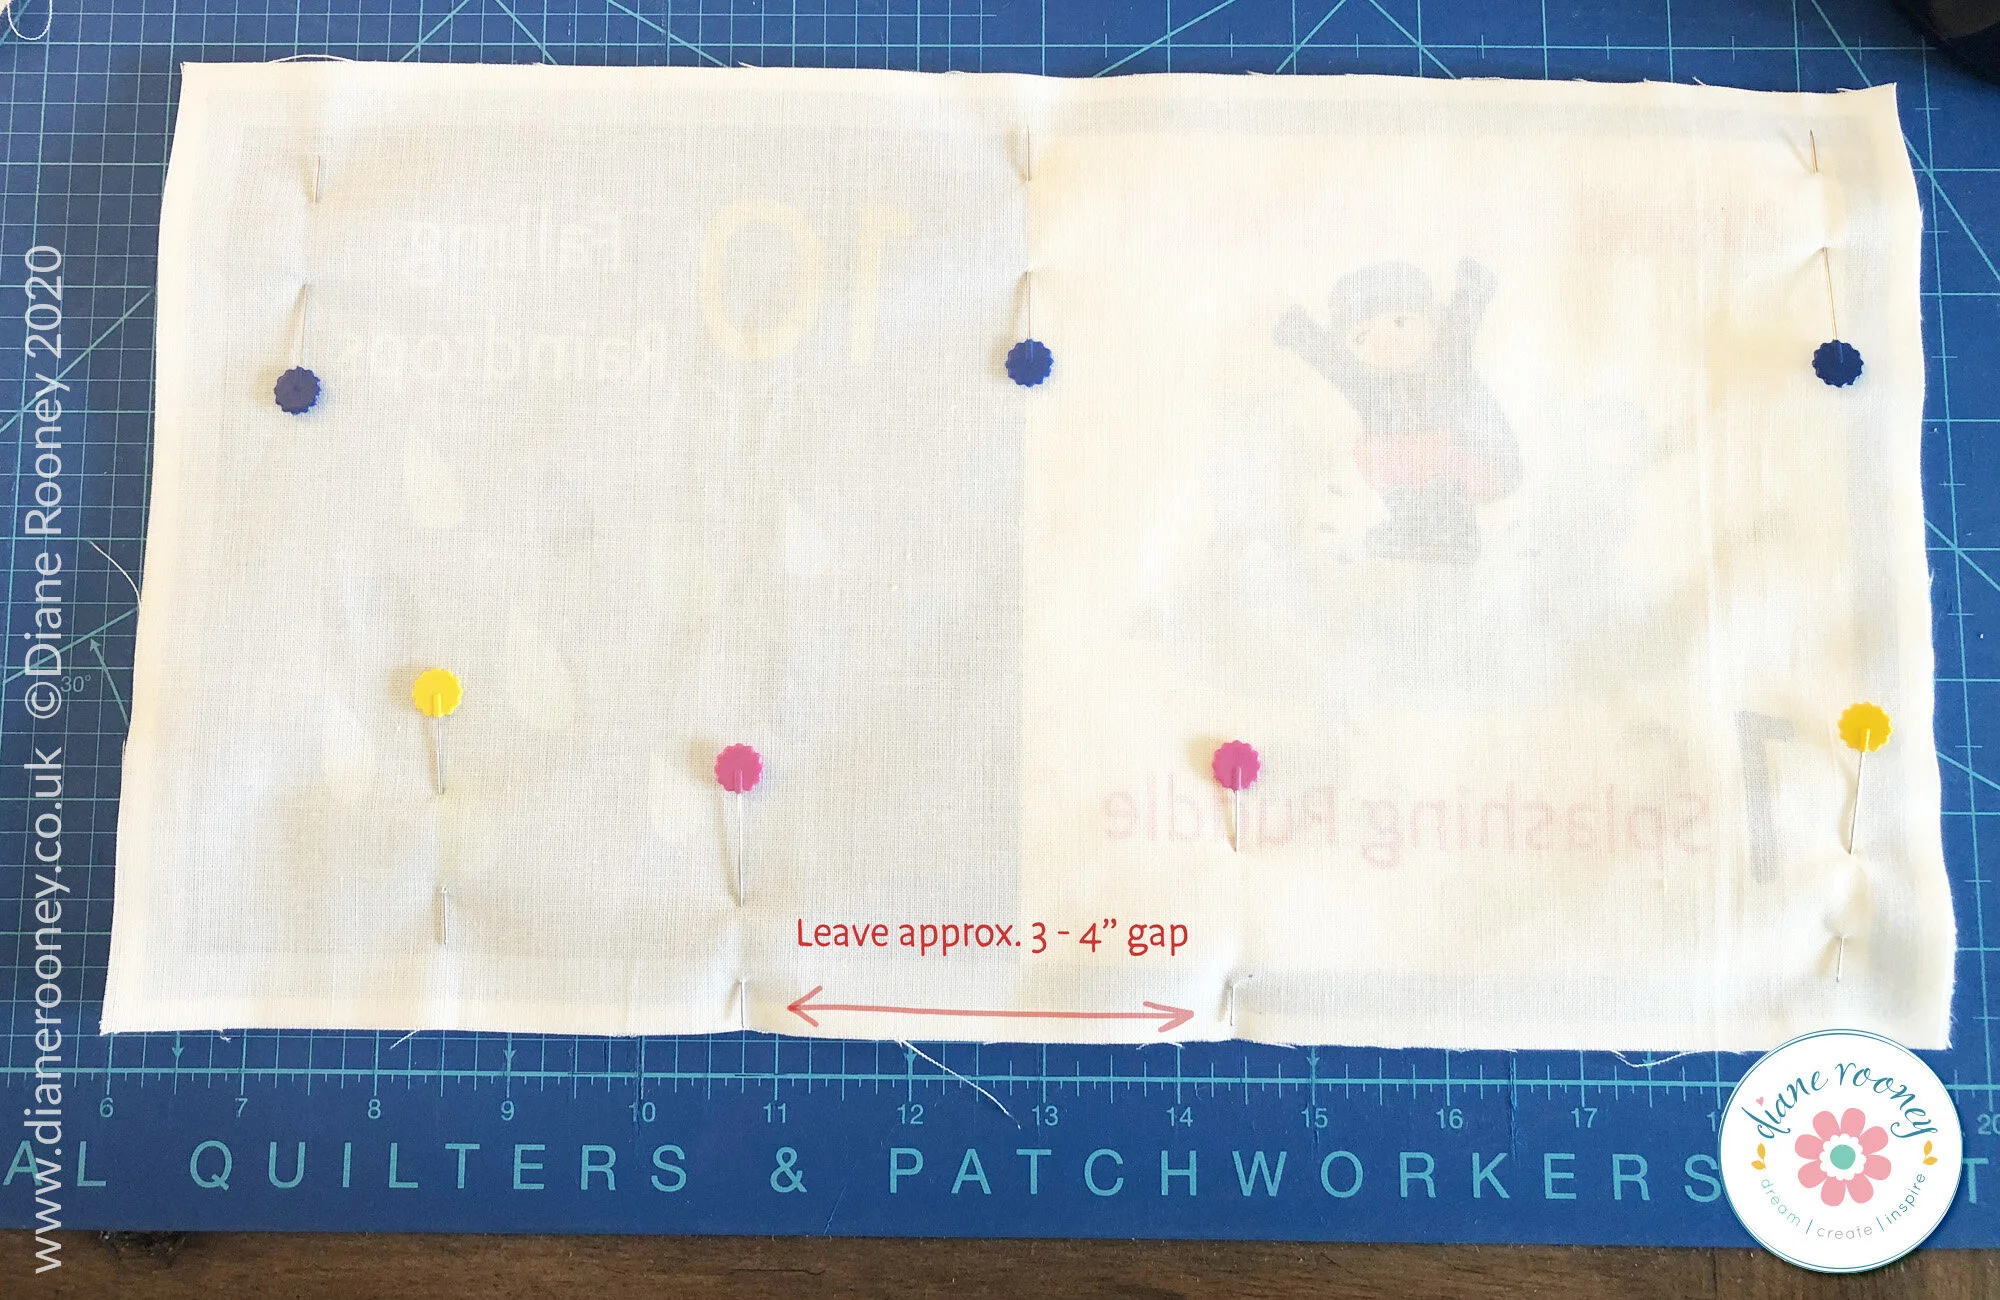
4. Sew a 1/4” all way round leaving an approx. 3” gap so you can turn out once stitched. Be sure to use a back stitch at beginning and end to secure the stitching.

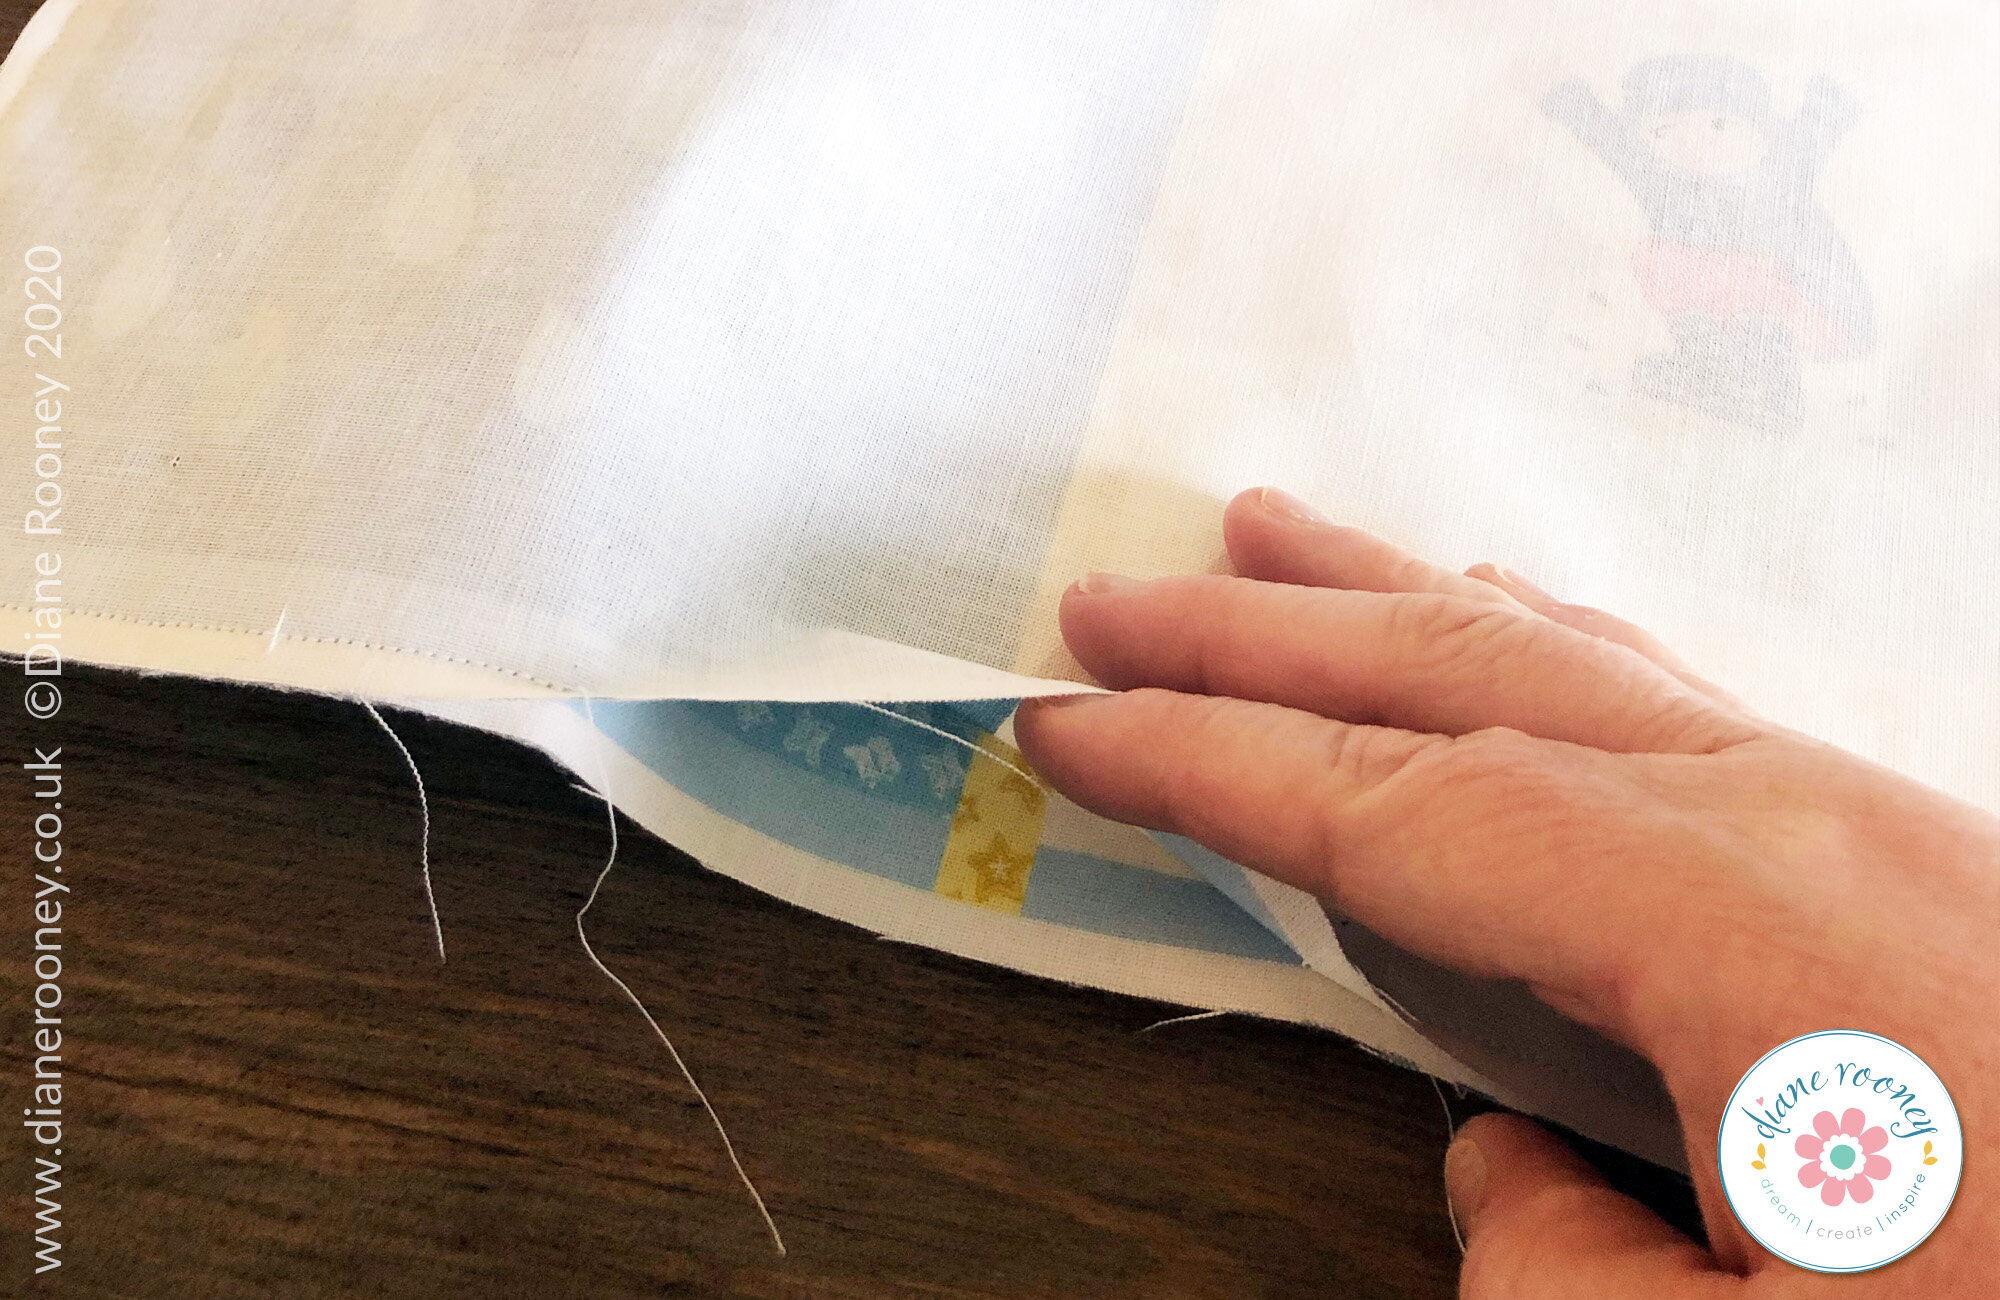
5. Cut off each of the corners and trim excess fabric/wadding making sure not to cut into the stitching.

6. Using the gap you left, turn inside out. Use a turning tool or similar to poke out the corners. Press. Pin where you left a gap, after pressing.

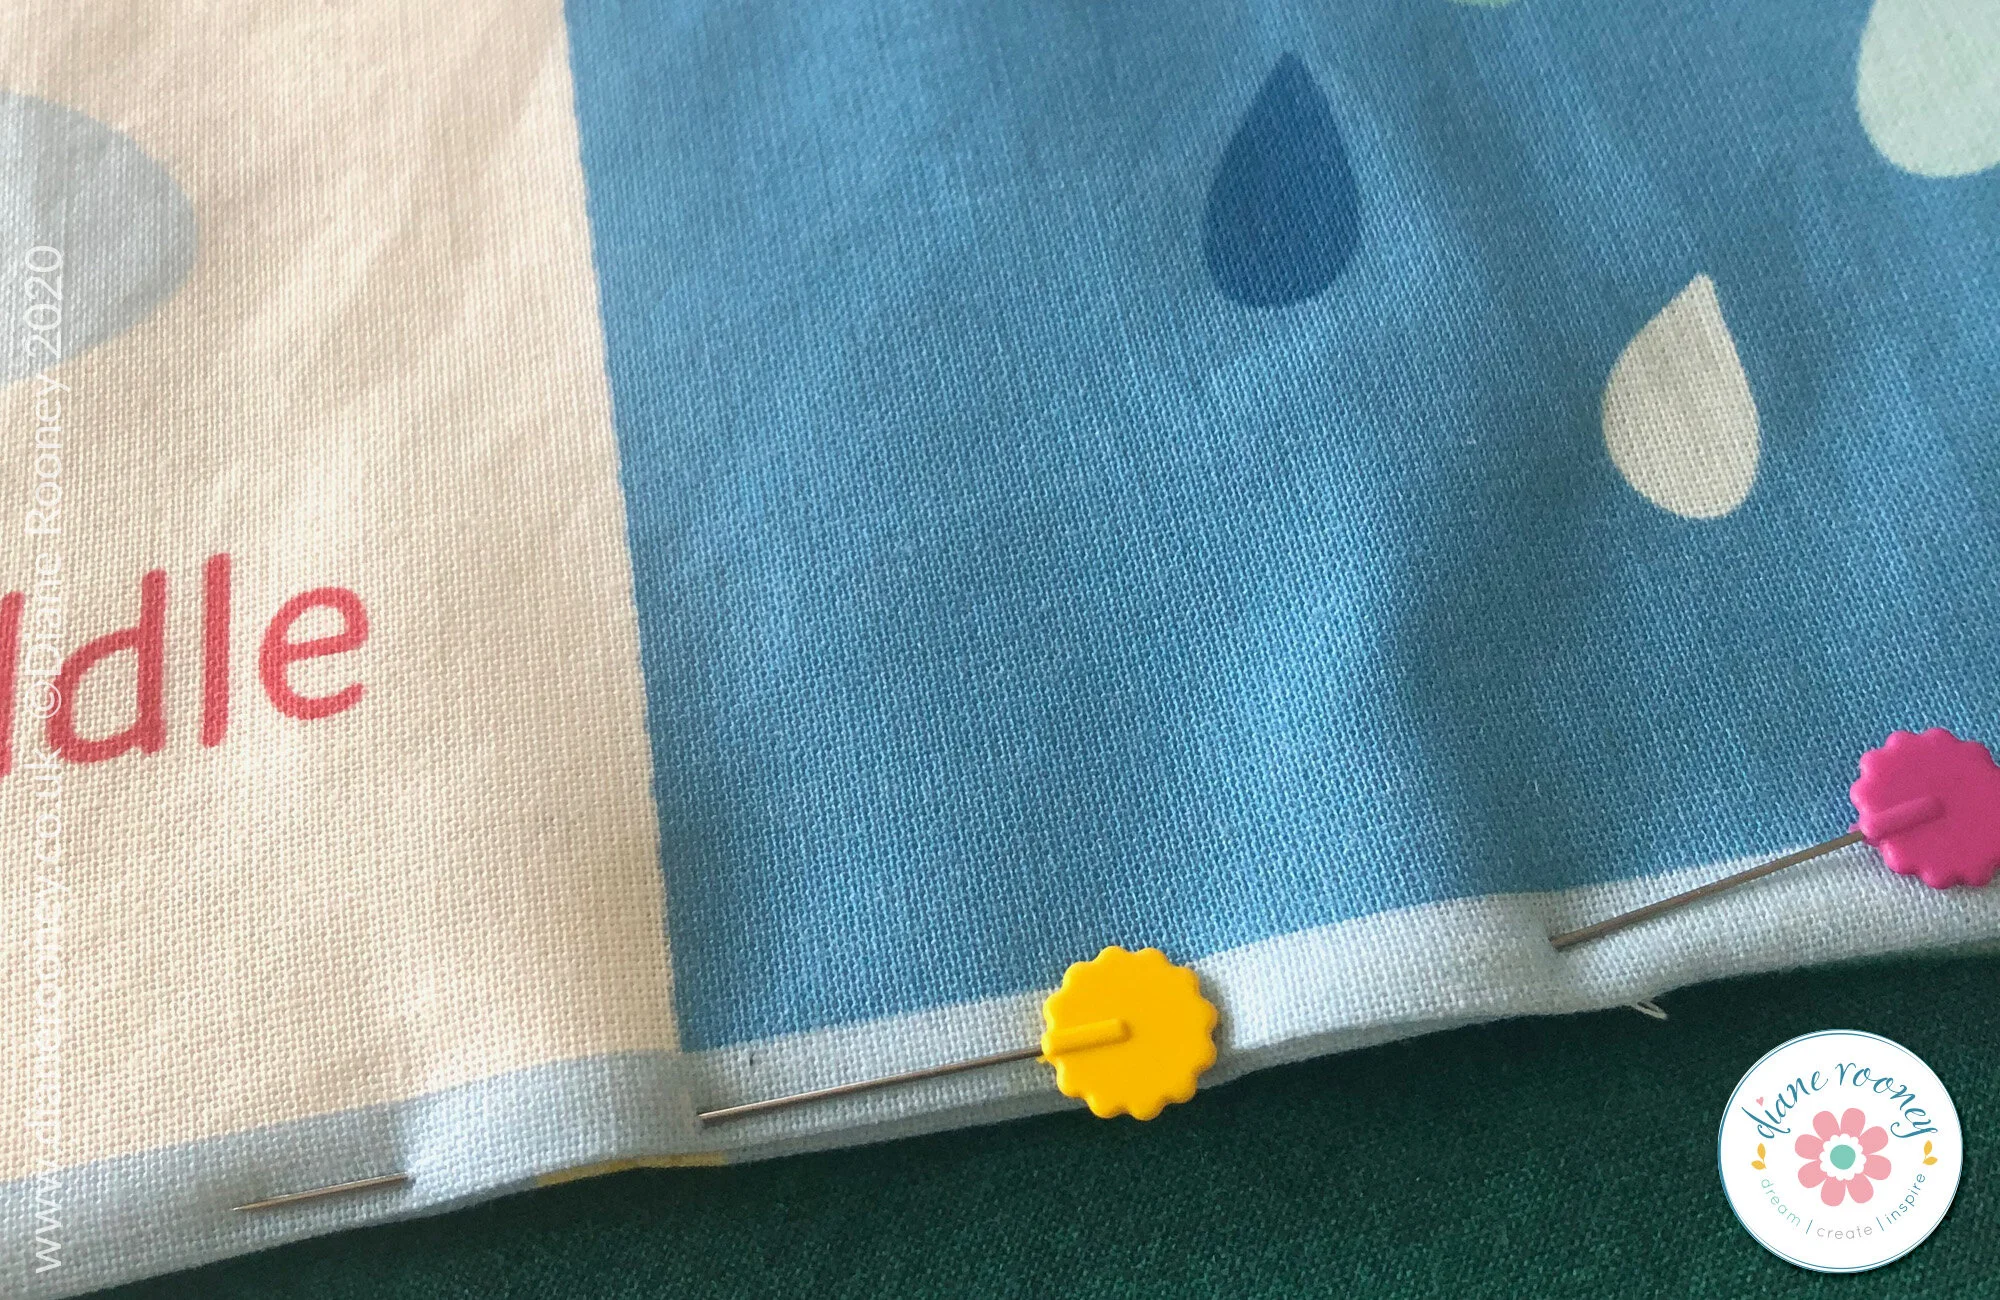
7. Sew about 1/8” all way round to close the gap. This also gives a nice finish to the page.
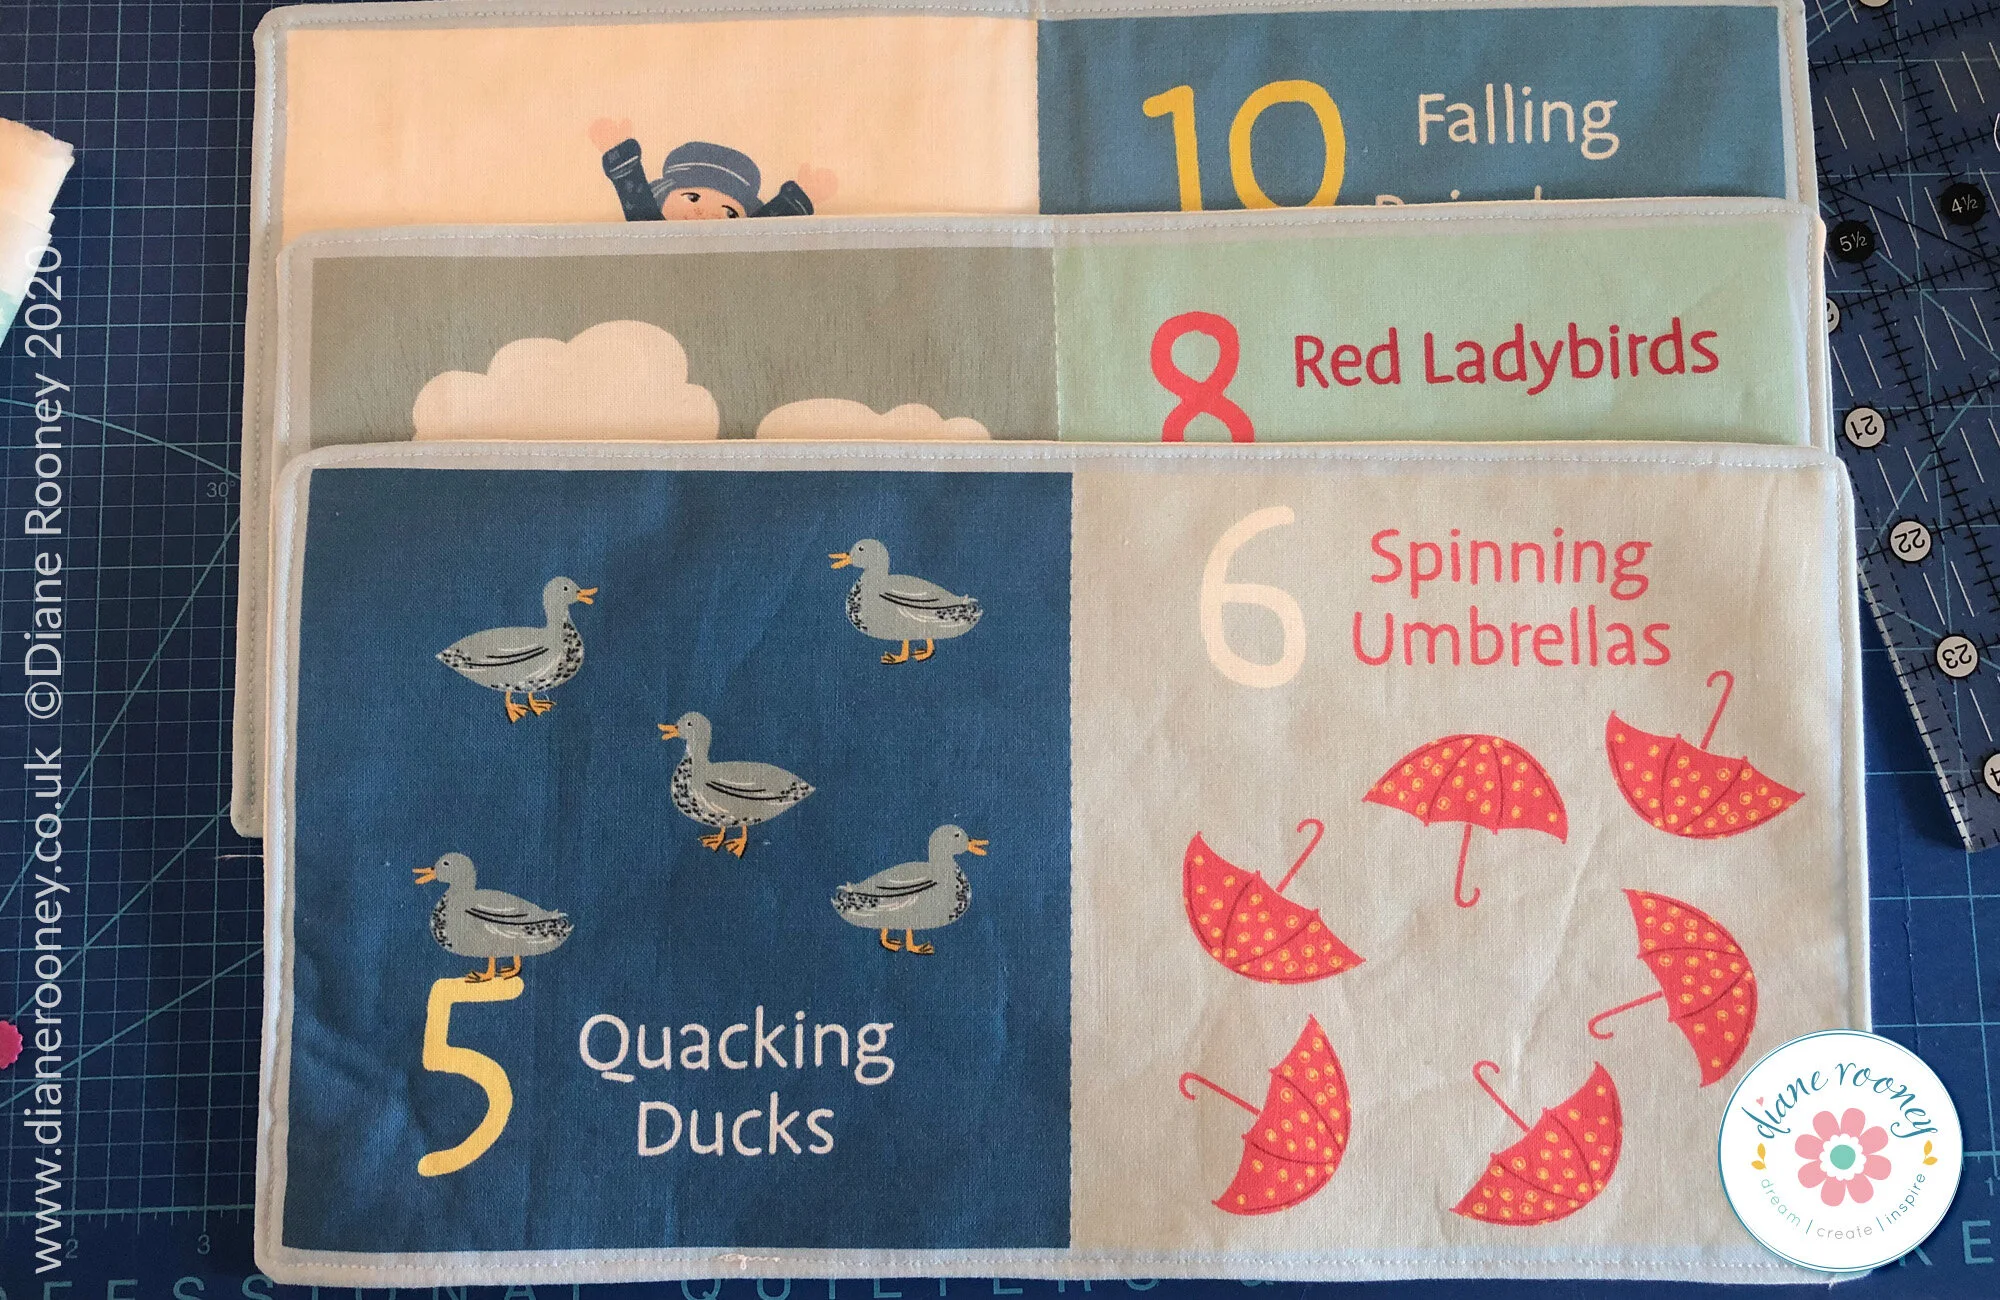
8. Repeat steps 2 to 7 for pieces C & D and E & F - Please Note: these pages are slightly smaller than the cover and inside cover pages (A & B), so measure and cut the fleece accordingly.
9. Assembling the book - Place the sewn cover and inside cover (A & B) so cover is face down and then assemble the other pieces on top. Take extra care at this point to make sure you have the pages round the right way and in order. It’s worth double checking a couple of times. Pin.

10. Sew straight down the middle of the pinned pages using dotted lines as a guide. You may need to use a walking foot because of the thickness of all the layers. Give a final press.


